What Spaghetti Actually Means
Spaghetti is loose strands of filament dumping into a nest because the nozzle is extruding into air. The print either never stuck on layer one, or a mid-print knock, warp, or jam left the toolhead drawing in empty space while the extruder kept feeding.
On Bambu Lab A1, A1 Mini, P1S, and similar FDM machines the fix is almost always physical first — plate, nozzle, filament — then slicer speed and temperature. Changing ten slicer toggles before you clean the bed wastes a spool.
First-Layer Spaghetti vs Mid-Print Spaghetti
First-layer spaghetti starts in the first minutes: corners lift, the brim peels, or the raft never bonds. Mid-print spaghetti starts after a solid base — a tall wall gets hit, a support fails, filament runs out and reloads poorly, or under-extrusion weakens a layer until the model detaches.
Treat them differently. First-layer problems are adhesion, Z height, plate type, and dirty PEI. Mid-print problems are nozzle condition, wet filament, speed, and mechanical stability.
- First-layer: clean plate, correct plate profile, Z/offset, bed adhesive, brim on large parts.
- Mid-print: dry filament, clear partial clogs, moderate speed, check for knocks and loose belts.
- Always stop the job early — a full nest of plastic is harder to clean off the hotend than a small failed square.
Quick Diagnostic Before You Touch the Slicer
Power off if plastic is wrapped around the heater block. Let the hotend cool enough to handle safely, then peel cooled spaghetti away from the nozzle and sock. A clogged or coated nozzle will keep failing even with perfect bed glue.
On Bambu printers, confirm the slicer plate type matches the physical plate. Wrong plate selection is a common silent adhesion killer. Then run auto bed leveling on a clean surface.
- Remove cooled filament from the nozzle tip and silicone sock.
- Wipe the build plate with isopropyl alcohol; use soap and water if grease remains.
- Match build plate type in Bambu Studio / Orca to the real plate.
- Run full calibration / auto bed leveling after cleaning.
- Extrude a short purge line and confirm even flow before retrying the model.
Step-by-Step Fix for First-Layer Spaghetti
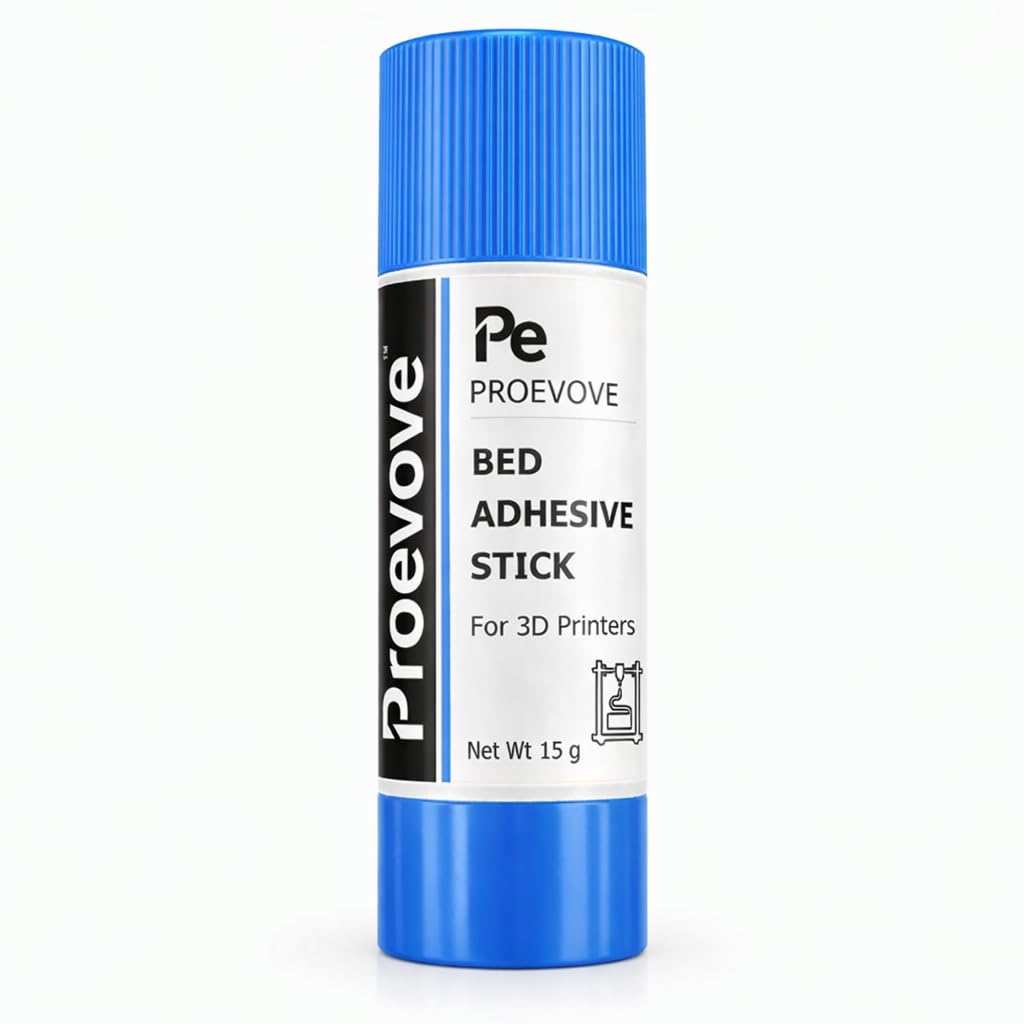
Clean the plate thoroughly. Oils from fingers kill adhesion faster than any slicer setting can fix. Dry completely. If PLA still peels on textured PEI, apply a thin, even coat of Proevove Bed Adhesive Stick 15g, let it dry about 30 seconds, and reprint a small first-layer test square.
Check nozzle height: the first layer should look slightly squished with no gaps between lines and no scraping. On Bambu A1 / A1 Mini, re-run the built-in leveling and first-layer calibration rather than guessing live Z offsets in the dark.
Use the correct bed temperature for the material — typically about 55–65 °C for PLA and 70–80 °C for PETG — and add a brim on tall or skinny footprints until adhesion is proven.
- IPA wipe (90%+) every print; dish soap if residue remains.
- Thin layer of Proevove Bed Adhesive Stick 15g when PEI alone is not enough.
- Confirm plate type + auto leveling after cleaning.
- First-layer test square before a multi-hour model.
- Brim or raft only as a temporary crutch while you lock adhesion.
Fix Mid-Print Spaghetti and Nozzle Mess
If the base was solid and the print died later, inspect for under-extrusion, wet filament (steam pops, rough surface), or a partial clog. Dry filament if it has been open in humid Indian weather. Slow outer walls a notch and raise nozzle temperature a few degrees if melting cannot keep up with speed.
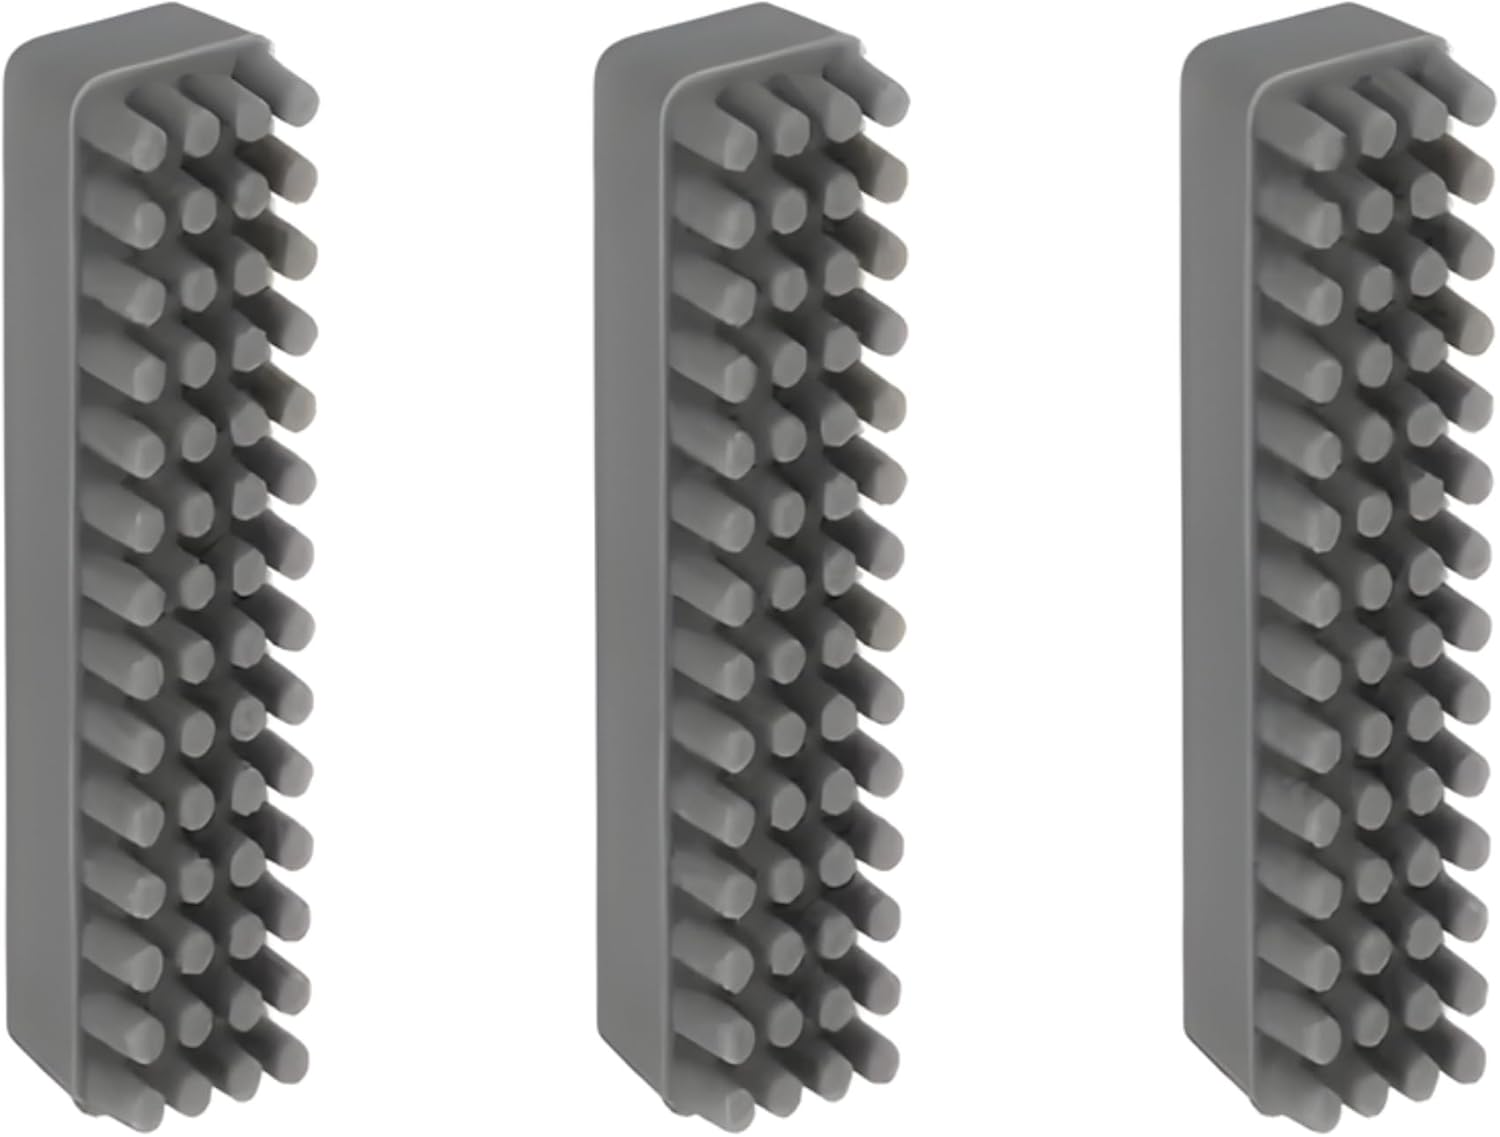
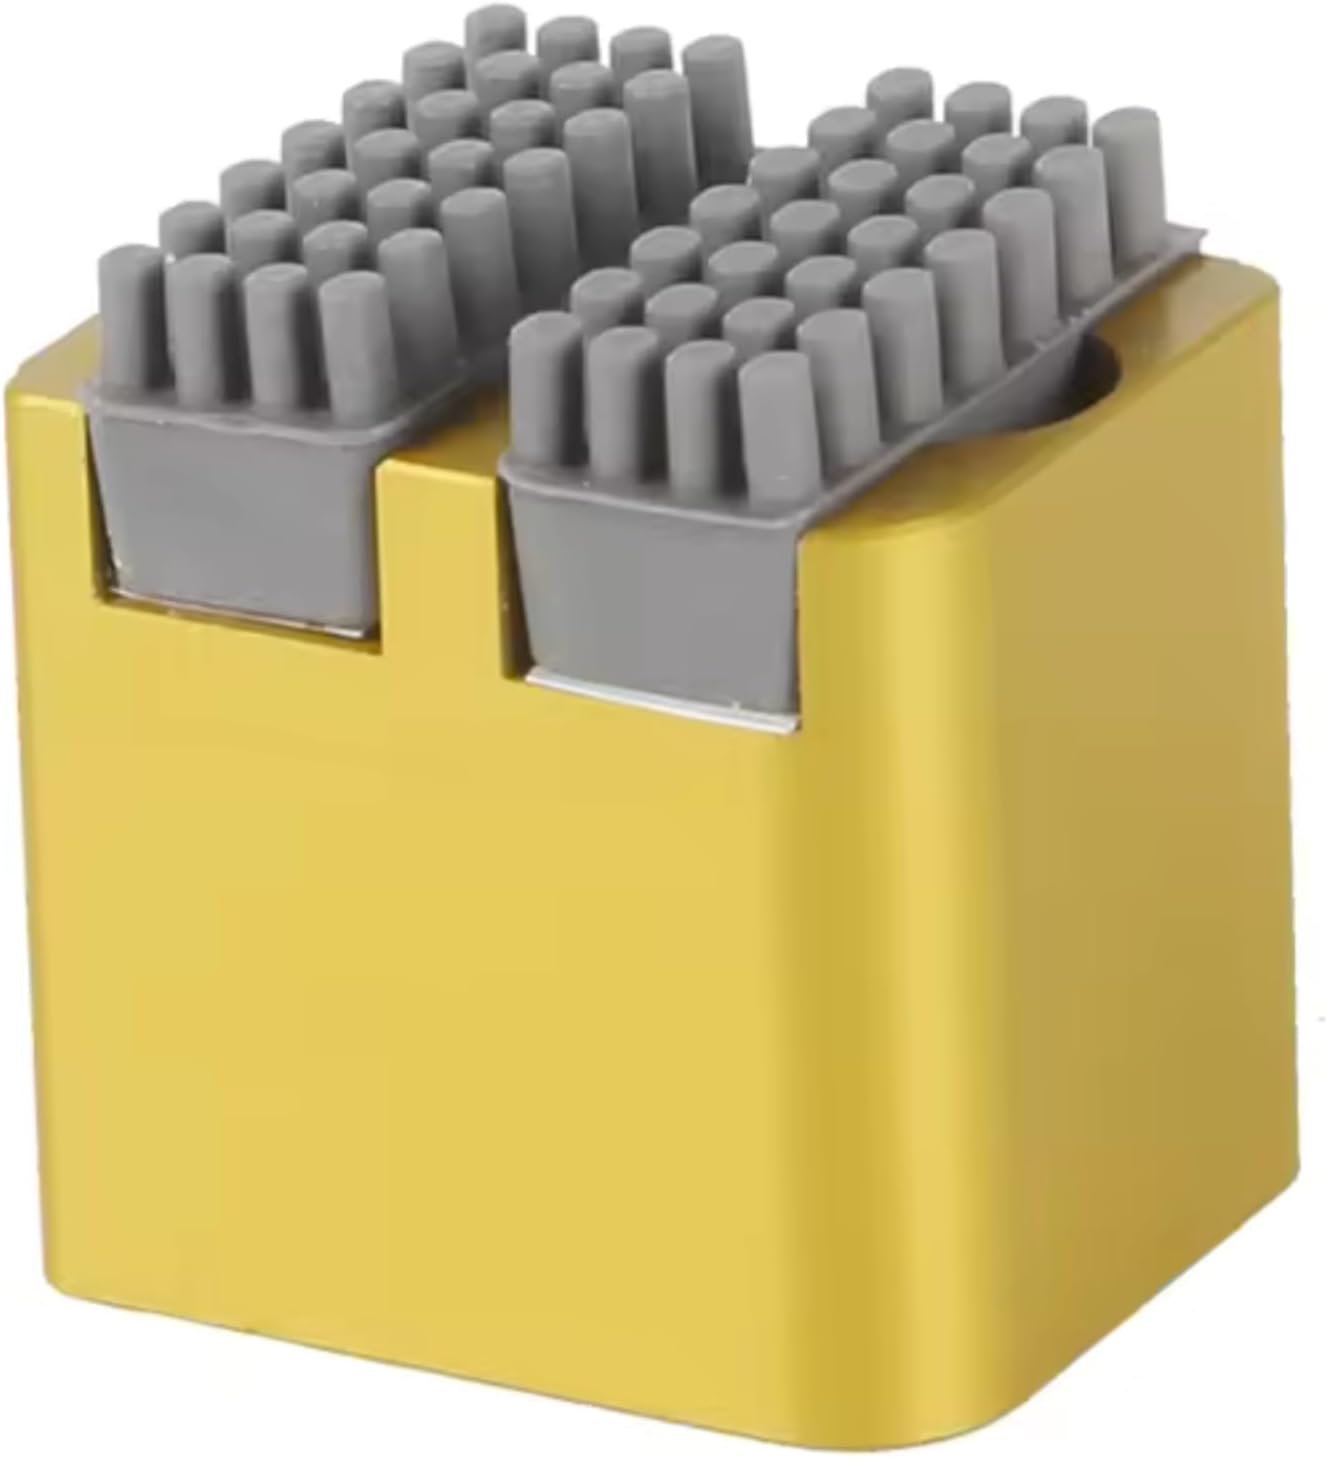
Clean the nozzle tip between jobs. A Proevove Silicone Nozzle Brush A1 — Pack of 3 is ideal for A1 / A1 Mini purge wipe-downs; for P1S / P1P / X1 / X1C, the Proevove Nozzle Wiper Cleaner keeps the tip free of the little blobs that snag a print and start a spaghetti cascade.
After a bad spaghetti event, check that the silicone sock is seated and that heater-block screws are snug. Loose hardware can change nozzle height mid-job and scrape or float unpredictably.
- Dry filament before blaming the printer.
- Cold pull or gentle nozzle clean if flow is uneven.
- Brush / wipe the nozzle after spaghetti cleanup.
- Reduce speed slightly on tall, unstable models.
- Verify sock and hotend fasteners after any collision.
Mistakes That Make Spaghetti Worse
Do not keep printing into a growing nest hoping it will reattach. Stop, clean, and restart a short test. Do not stack five slicer changes at once — you will not know what worked. Do not print on a plate that still has glue piles, dust, or old brim residue.
Avoid maxing volumetric speed on cold or damp filament. Spaghetti mid-air often means the melt zone could not keep up or the part already detached from poor lower-layer strength.
Keep Spaghetti From Coming Back
Make plate cleaning and a light adhesive coat part of the start ritual for large PLA or PETG jobs. Keep a nozzle brush or wiper next to the printer so purge blobs never sit on the tip overnight.
Proevove Bed Adhesive Stick 15g, Silicone Nozzle Brush A1 — Pack of 3, and Nozzle Wiper Cleaner — P1S / P1P / X1 / X1C are made in India and listed on Amazon India — simple consumables that prevent the most expensive failure mode: hours of print time turned into a plastic bird's nest. Message us on WhatsApp if you are unsure which kit matches your machine.