What Multicolor Printing on the A1 Really Involves
The Bambu Lab A1 and A1 Mini print multicolor through the AMS Lite — a four-slot top-mounted unit that feeds, cuts, retracts, and reloads filament automatically while the printer swaps colors. Bambu RFID spools are identified automatically; third-party spools need a matching filament profile selected in the Device tab before slicing. The practical limit on an A1 is four colors in one print: AMS Lite units cannot be daisy-chained like the full AMS on X1 and P1 series machines.
Every color change ends with a purge. The nozzle flushes leftover filament into the waste chute at the back of the printer — the familiar "poop" pile. Multicolor is therefore a workflow, not just hardware: model preparation, painting, flushing settings, and nozzle hygiene all decide whether the result looks like a clean badge or a muddy gradient.
- Four colors per print on A1 / A1 Mini; 16 colors needs full AMS + hub on X1/P1 machines.
- RFID Bambu spools auto-configure; for other brands pick the closest profile and set temperature yourself.
- Expect longer print times and visible purge waste — that is normal, not a fault.
Dry, Check, and Slot Your Filaments First
Multicolor prints retract and re-feed filament constantly, and they run long. Wet filament that prints acceptably in a single-color job will string, snap, or jam during a color change. In Indian coastal and monsoon weather, PETG, TPU, and nylon need a dryer before a multicolor job; PLA usually survives on the spool if stored in a box with desiccant. If filament pops or hisses at the nozzle, dry it — do not slice yet.
Spin each spool by hand in its AMS Lite bay before starting. Tangled windings and cardboard spool edges are the top cause of mid-print load failures. Keep spools reasonably full: an almost-empty spool can run out mid-swap, and Bambu Studio pauses for a refill while the part cools on the bed.
- Dry hygroscopic filaments (PETG, TPU, nylon) before a multicolor run.
- Spin spools to catch tangles; avoid cardboard spools or use AMS-friendly adapters.
- Plan slot order before slicing so you do not have to reload mid-print.
Paint the Model in Bambu Studio
The easiest first multicolor print is a pre-colored .3mf from MakerWorld or Printables — colors arrive already assigned, so you only verify filament mapping and slice. To color your own model, select it, open the Paint tool, choose a color, and paint with the brush modes: Height Range for clean horizontal bands, Line for edges, Sphere for small details, and Fill to cover a whole face or volume.
Use Split to Objects when entire parts of an assembly should be different colors — this is faster and far cleaner than hand-painting. Whatever method you use, remember every color transition on a layer adds one or more filament swaps, and each swap adds time and purge waste. Fewer colors per layer is the single biggest lever for speed and cost.
- Start with a pre-colored model to learn the workflow before painting your own.
- Height Range brush suits text and bands; Split to Objects suits multi-part models.
- Limit color changes per layer — a four-color logo on a flat surface is cheap, a rainbow gradient is not.
Flush Volumes and the Purge Budget
Bambu Studio calculates how much filament to push through the nozzle after each swap so the previous color does not contaminate the next. Its defaults are reliable but not thrifty. When color purity matters, raise the flushing volume for the specific color pair; when it does not, enable Flush into this object's infill or Flush into support to bury waste inside the print and save a surprising amount of filament.
The A1's prime tower and waste chute handle the rest. Keep the prime tower on for short, frequent swaps; you can disable it once your flush settings are stable. Empty the purge chute between prints — a full chute pushes purge back into the print area and can collide with the toolhead on long jobs.
- Dark pigments bleed worst into white and yellow — raise flush when switching to light colors.
- Flush into infill or support hides waste on functional parts; keep flush-to-object off for visible surfaces.
- Budget 15–40% extra filament for busy multicolor models; two-tone prints waste far less.
Nozzle Hygiene: Brush, Wiper, and Purge Path
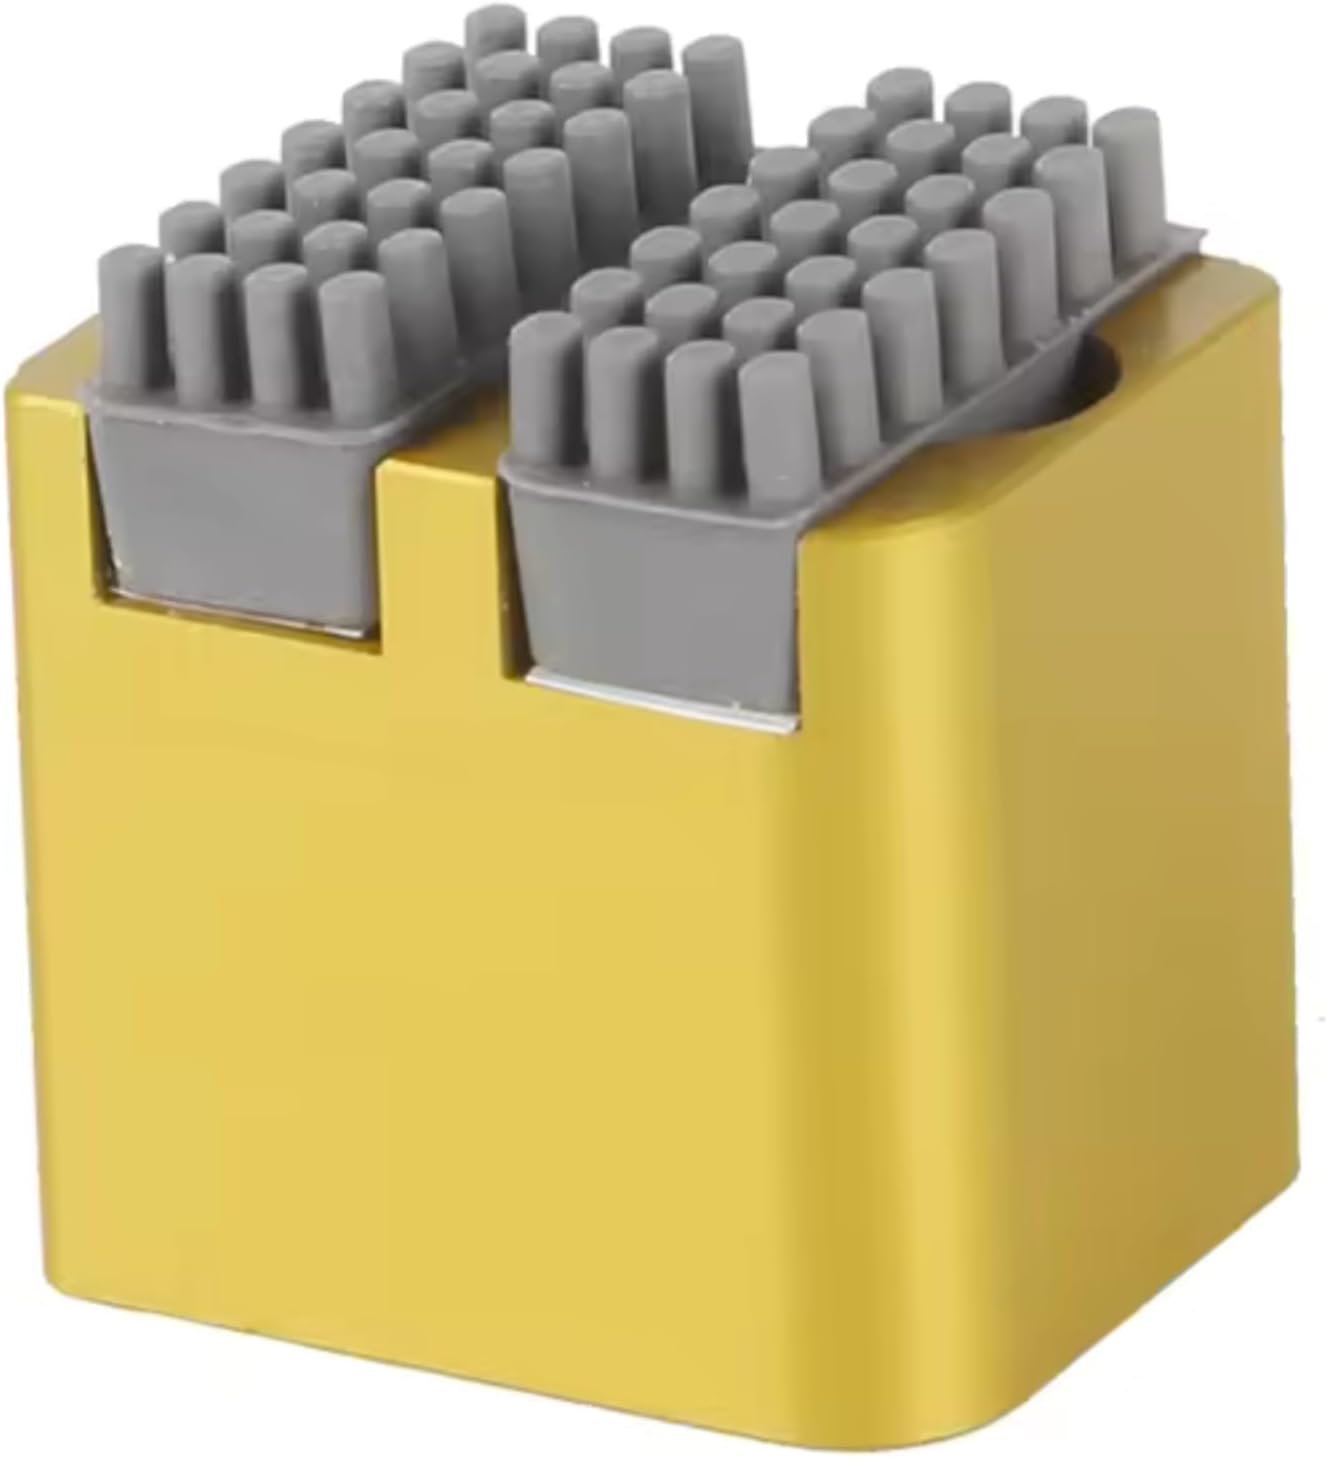
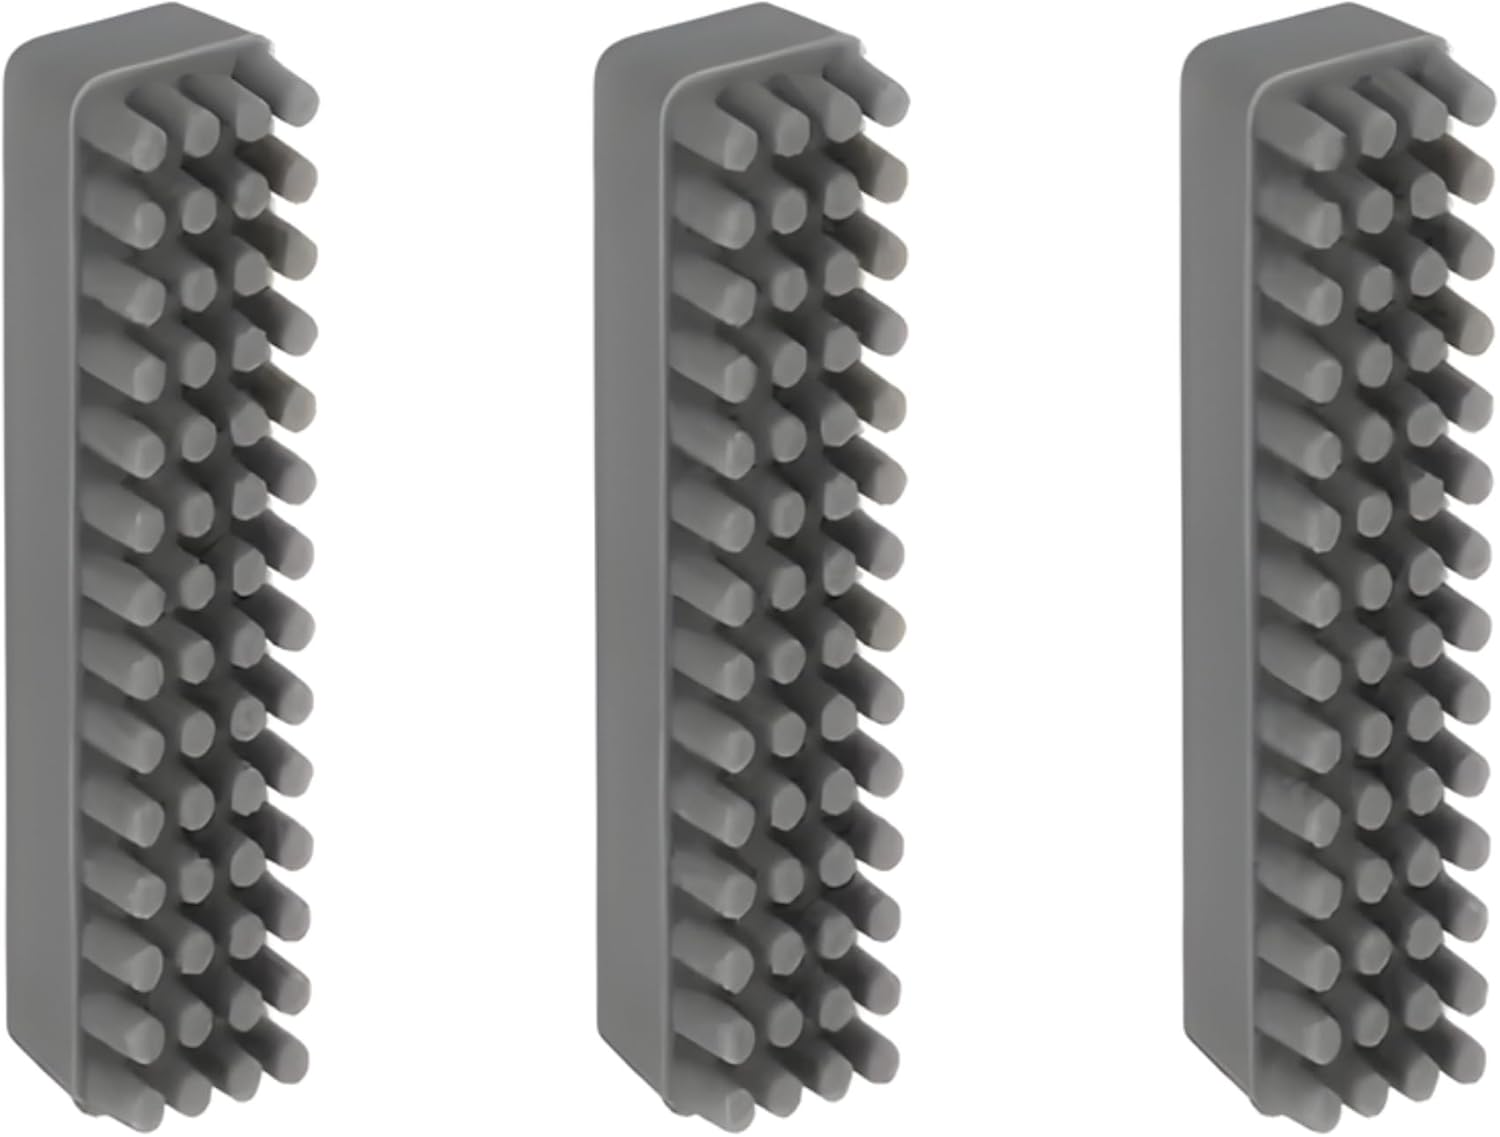
Between every color change the A1 scrubs the nozzle tip on a silicone brush so leftover filament does not streak into the new color. That brush takes real abuse — months of contact at 200°C+ char and pack the bristles, and a worn brush leaves the first centimetres of every color dull or contaminated. Swap in a fresh Proevove Silicone Nozzle Brush for A1 (Pack of 3) when the bristles look packed, scorched, or bent. The same habit applies to the rubber nozzle wiper on P1S/P1P/X1/X1C machines, and Proevove carries that wiper cleaner too.
If a print starts fine and slowly develops faint streaks of the previous color on later segments, check the brush before touching flush settings. A clean tip is worth more than any software toggle.
- Inspect the A1 silicone brush every few multicolor prints; replace it when packed or scorched.
- Keep the P1S/X1 wiper clean so purge does not drag residue back onto the nozzle.
- Watch the first layer after a swap — dull color there usually means brush or flush, not filament.
Bed Prep for Long Multicolor Jobs
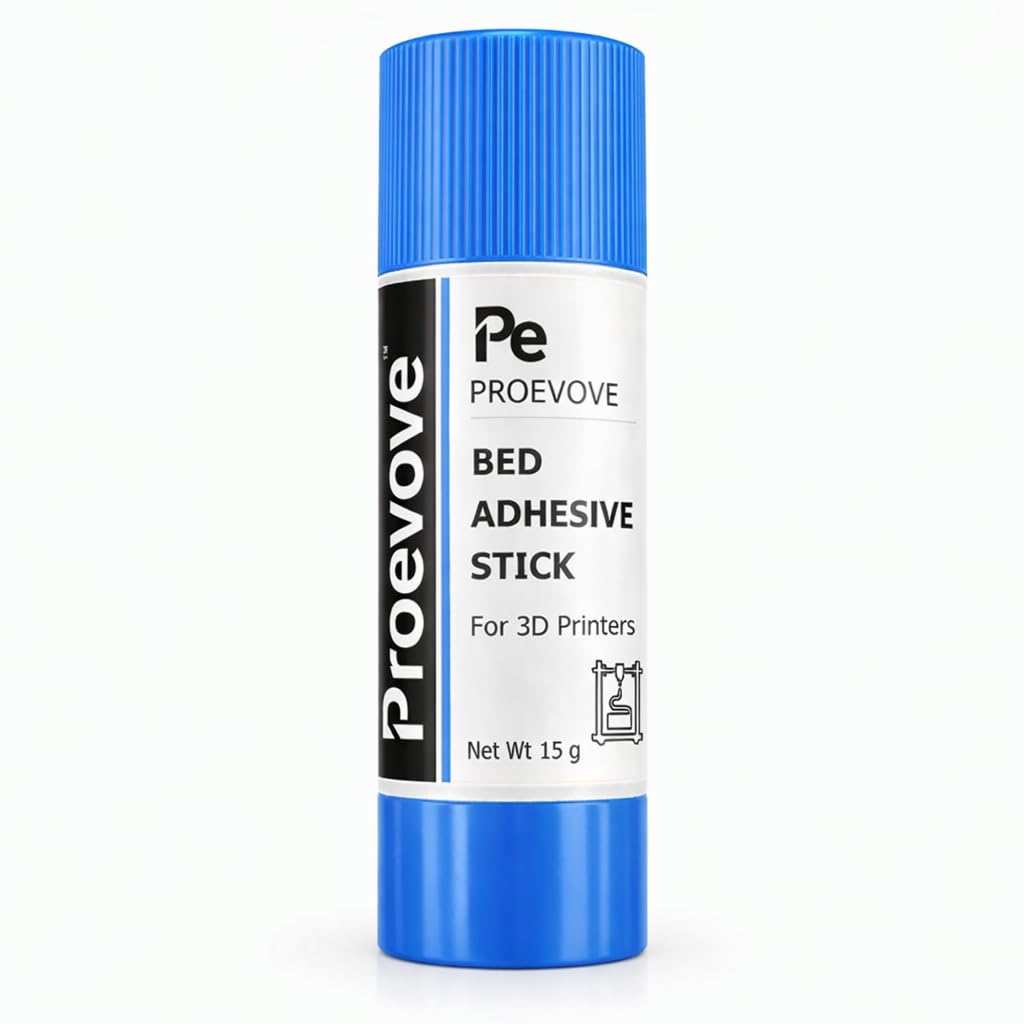
A multicolor part can run for hours, and the first layer has to survive all of it — a corner that lifts after swap forty ruins the entire model. Start with a clean plate: warm water and dish soap on the textured PEI sheet, then avoid touching the surface. For large footprints or smooth plates, a thin pass of Proevove Bed Adhesive Stick 15g dramatically improves hold and makes removal predictable.
Let the A1 finish its auto leveling and watch the first few layers before walking away. With purge happening at the rear, a big brim can also help slender parts stay put — just remember the brim adds cleanup at the end.
- Wash textured PEI with warm water and dish soap before long prints; skip glue there unless the part is huge.
- Use Proevove Bed Adhesive Stick 15g on smooth plates and stubborn large footprints.
- Check the first layer after five minutes — rescuing a print early beats restarting six hours later.
The Two Failures You Will Actually See
Color bleeding — edges of one color bleeding into another — is a flush problem, not a printer fault. Raise the flushing volume for that color pair, enable the prime tower, and confirm the nozzle brush is clean. If swaps fail mid-print with an AMS Lite error, the cause is almost always a spool tangle or a deformed filament tip from the previous unload: pause, untangle, snip a fresh 45° tip, and resume.
Multicolor is the most fun upgrade for an A1 Combo once the routine clicks: dry filament, painted model, sane flush settings, and a clean nozzle brush. If a swap problem ever looks deeper — repeated jams, grinding, or filament stuck in the path — our AMS jam and hotend guides walk through the mechanical fixes. And when you need replacement brushes, wipers, or bed adhesive in India, Proevove ships through Amazon and WhatsApp orders, with spares that match Bambu Lab A1, A1 Mini, P1S, and X1 series.
- Color bleed: raise flush for that pair, enable prime tower, check the brush.
- Mid-print swap failure: pause, check spool and tip, resume — do not cancel the whole job.
- Recurring jams: read the AMS filament jam and hotend guides before buying parts.