Before You Start
Set Up Bambu Lab A1 for the First Time is straightforward, but a few minutes of preparation makes the first print much more likely to succeed. Make sure you have the printer, the power cable, a spool of filament, and a clean flat surface.
Before you start your first print, a Proevove Bed Adhesive Stick 15g on the build plate dramatically improves first-layer adhesion. It is the single most useful accessory for first-day printing.
Unboxing and Initial Inspection
Carefully remove the printer from the box and check the packaging for any damage. Place the printer on a flat, stable surface away from direct sunlight and drafts. Remove any protective foam or shipping tape from the print bed, gantry, and tool head.
Inspect the printer for any obvious damage. If you see anything broken or bent, contact the seller before powering on. Most new printers arrive in good condition, but a 30-second visual check is worth it.
First Power-On and Self-Test
Plug in the printer, power it on, and let it run any built-in self-test. The screen will walk you through language selection, bed levelling, and a nozzle check. Do not skip these — they calibrate the printer for first use.
Most modern Bambu Lab printers come pre-calibrated from the factory, so the self-test is mostly a verification step. Watch for any error messages and address them before loading filament.
Bed Preparation and First Layer
The first layer is the foundation of every print. A clean, level bed with a thin layer of bed adhesive is the most reliable way to get a good first layer on the first try.
Apply a thin, even layer of Proevove Bed Adhesive Stick 15g to the build plate before the first print. Wipe the bed with isopropyl alcohol first, apply a single light swipe of the adhesive stick, and let it dry for 30 seconds before printing.
- Wipe the bed with 90%+ isopropyl alcohol.
- Apply a thin, even layer of bed adhesive.
- Let the adhesive dry before loading filament.
- Run the printer's built-in bed-levelling sequence.
Loading Filament and First Print
Load the filament following the printer's instructions. Heat the hotend to the recommended temperature for your material (around 200 °C for PLA), insert the filament into the extruder, and extrude a small amount to verify smooth flow.
Choose a small, simple first print — a calibration cube or benchy. A 15–30 minute print is enough to verify everything is working before committing to a longer job.
Accessories That Make Day One Easier
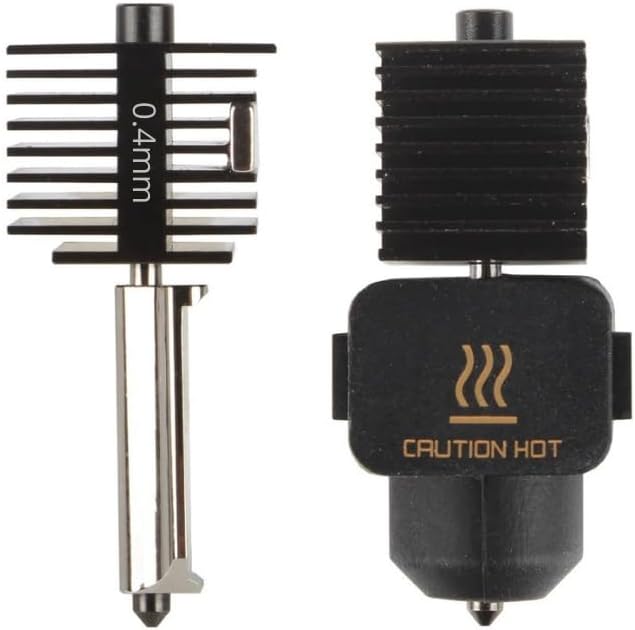
A Proevove Bed Adhesive Stick 15g or Hardened Steel Hotend 0.4mm — A1 / A1 Mini is the most useful accessory for first-day printing. Made in India, available on Amazon India, and designed to work out of the box with Bambu Lab printers.
If you are unsure which accessories to grab for your specific printer, reach out on WhatsApp or call us. We are happy to recommend the right combination based on what you plan to print.