
Normal Layer Texture vs a Real Problem
Every FDM print shows layers. On a Bambu Lab A1 or A1 Mini that is not a defect by itself — it is how plastic is stacked. The search intent behind “fix layer lines” is usually harsher ridges, repeating horizontal scars, or a rough outer wall that looks worse than the same model on a friend’s machine.
Before you rewrite the whole profile, decide what you are seeing. Fine even layers that you only notice up close are normal. Periodic thick/thin bands that climb the part often point at Z motion or temperature swings. Random scarred walls often point at flow, wet filament, or a worn nozzle.
- Even fine lines at your layer height = expected FDM look.
- Repeating horizontal bands every few mm = check Z lubrication, belts, and leadscrew.
- Rough, inconsistent outer walls = flow, filament moisture, nozzle condition.
Quick Checks Before You Touch the Slicer
Dry filament first if the spool has sat open in humid Indian weather. Wet PLA and PETG print with matte scarred walls that people mislabel as “layer lines.” Purge a few centimetres and listen for steam pops or uneven extrusion.
Confirm belts are tensioned to Bambu’s guidance — not guitar-string tight, not floppy. Loose belts smear surface quality; overtight belts can add vibration. Wipe dust off rods and the Z leadscrew; dry gritty motion shows up as horizontal texture long before the printer throws an error.
- Dry the spool if it has been open more than a few days in monsoon humidity.
- Check XY belt tension and that idlers spin freely.
- Clean Z leadscrew and linear rods; re-lube sparingly.
- Inspect the nozzle tip for a flattened or scarred orifice.
- Print a small vertical cylinder or vase-mode cup before a big aesthetic job.
Mechanical Fixes That Smooth A1 Surfaces
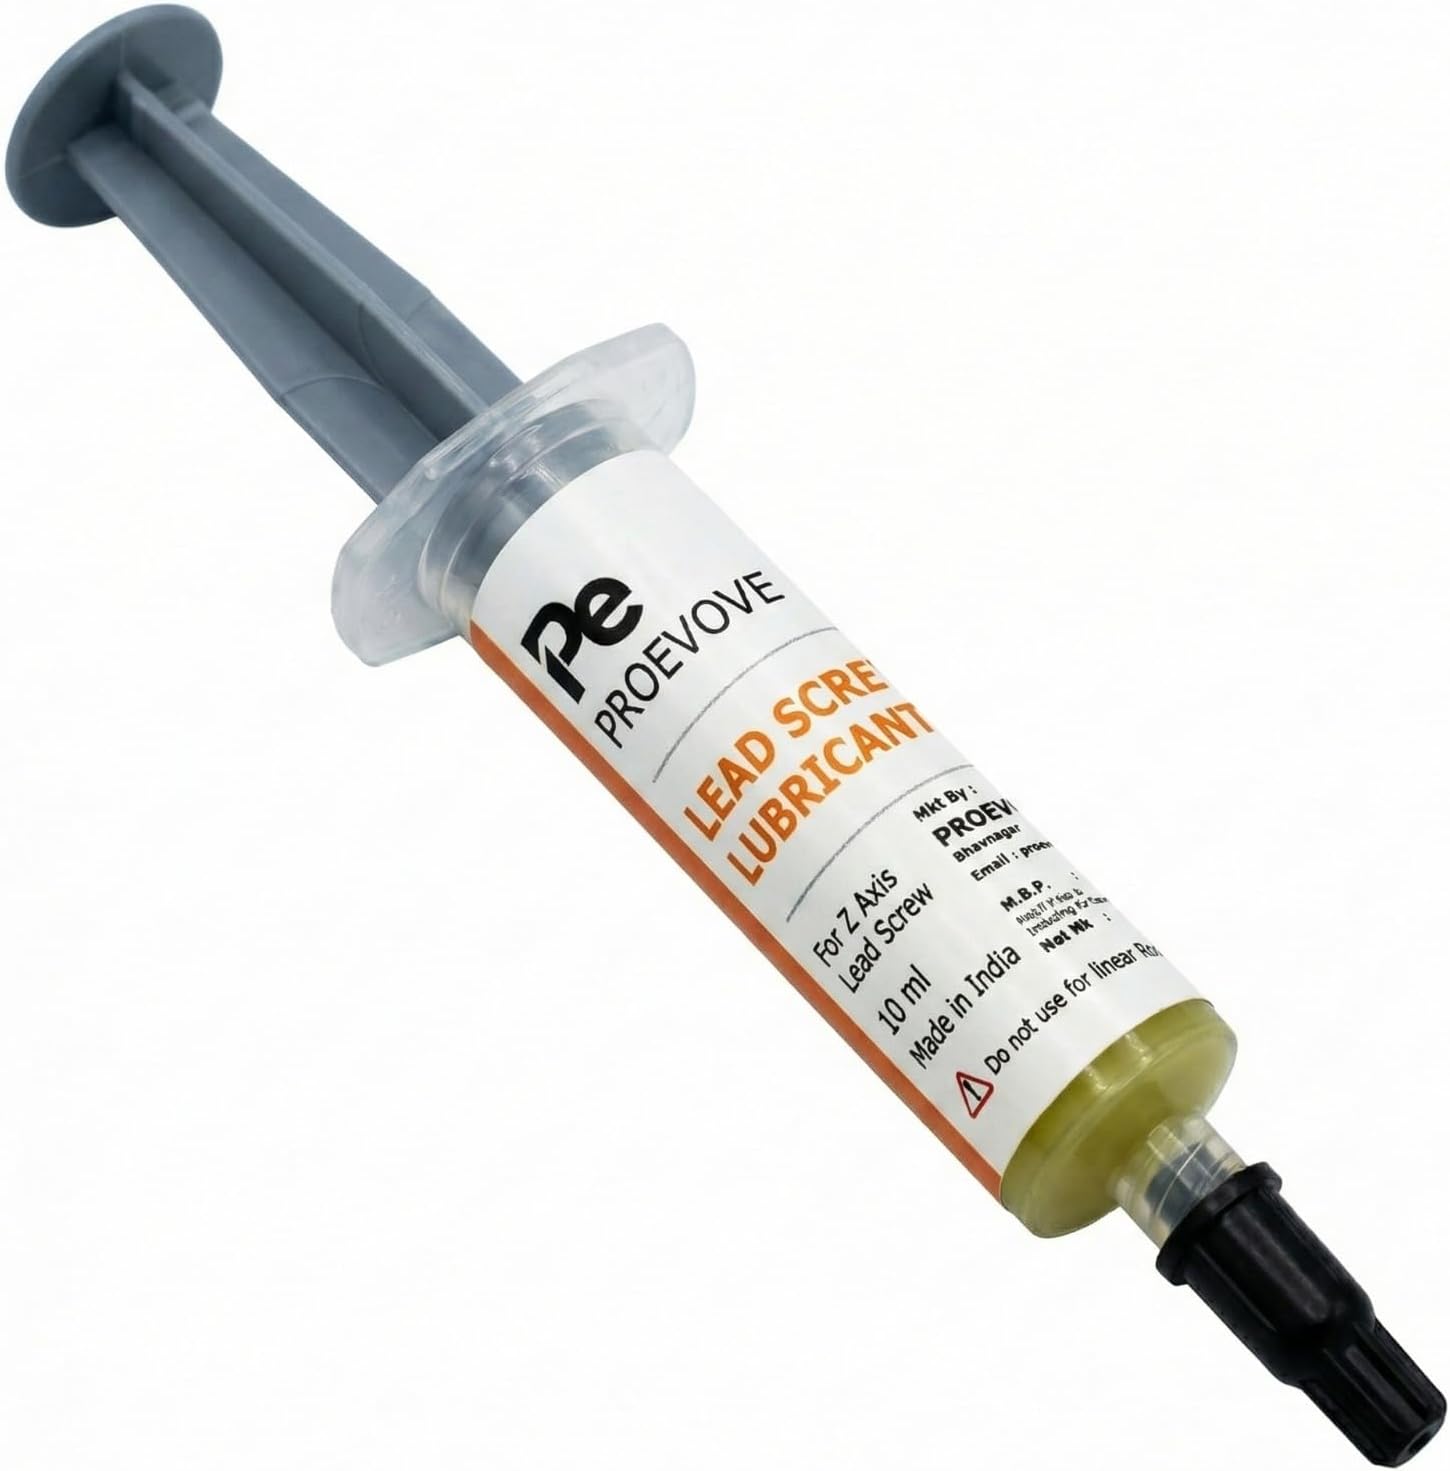
On CoreXY-style motion the A1 still depends on clean Z travel. A dry or dirty leadscrew adds tiny height errors that read as layer lines or mild Z banding. Apply a thin film of Proevove Lead Screw Lubricant 10ml along the screw, run the bed through full Z travel a few times, and wipe excess so dust does not cake on.
Linear rods and smooth rods also need light lubrication. Proevove Linear Rod Lubricant 10ml keeps travel quiet and consistent without the sticky mess of random household greases. After lubing, re-home and run auto bed leveling so the mesh matches the freshly free motion.
- Thin coat of Proevove Lead Screw Lubricant 10ml on the Z screw — not a grease blob.
- Light Proevove Linear Rod Lubricant 10ml on rods; wipe drip risk away from belts and electronics.
- Cycle Z full range, then re-level.
- If you already have a Z-banding guide open, treat banding and generic layer lines as related but not identical.
Slicer Settings That Reduce Harsh Outer Walls
In Bambu Studio or Orca, slow the outer wall. Many A1 users leave stock speeds that are fine for strength but harsh for show faces. Drop outer wall speed and outer wall acceleration so the toolhead is not vibrating while laying the visible perimeter.
Print outer walls before inner walls when surface finish matters, keep flow calibrated, and avoid wild fan swings on small layers. A slightly lower outer-wall flow (for example 0.95–0.98 after a proper flow calibration) can hide over-extruded ridges. Do not stack five changes at once — change one group, print a test cup, then decide.
- Outer wall slower than inner wall; reduce outer wall acceleration.
- Wall order: outer/inner/infill for cleaner faces when the model allows.
- Calibrate flow; avoid guessing random flow multipliers every print.
- Stable fan and temperature — sudden cooling changes mark layers.
- Optional: adaptive / variable layer height on curved tops once walls are already clean.
Temperature Stability and the Silicone Sock
Visible layer texture gets worse when nozzle temperature drifts. A missing or torn silicone sock lets drafts cool the block unevenly and can leave subtle horizontal differences. Seat a proper Proevove Silicon Sock A1 / A1 Mini so the heater block stays insulated and the thermistor sees a steadier melt zone.
If temperature still hunts several degrees, pause aesthetic prints until that is solved — no wall-order trick fixes a hotend that is fighting heat loss. Keep the sock clean; cooked filament on the sock is a sign of past ooze that may also be scarring the tip.
- Install / replace the A1 / A1 Mini silicone sock if it is loose, torn, or missing.
- Watch the nozzle temperature graph during a slow outer-wall section.
- Clear cooked plastic from the block before blaming the slicer.
What Will Not Magic Away Every Line
Lower layer height (0.12 mm or 0.08 mm) makes lines finer; it does not remove them. Sanding, filler primer, and vapour smoothing (material dependent) are finishing steps, not printer repairs. Do not chase zero-visible-layers on untreated PLA — set a realistic goal: even, fine lines without mechanical banding.
Avoid over-lubricating until rods drip, overtightening belts until bearings complain, or maxing volumetric speed on cold filament. Those “fixes” create new defects that still look like bad walls.
A Simple A1 Surface-Quality Routine
Once a month in heavy use: clean and lightly lube the Z leadscrew and rods, confirm belt feel, check the silicone sock, and run a small calibration cube or cylinder at your usual aesthetic profile. Keep Proevove Lead Screw Lubricant 10ml, Linear Rod Lubricant 10ml, and Silicon Sock A1 / A1 Mini next to the printer so maintenance is a five-minute habit, not a weekend project.
These Proevove consumables are made in India and available on Amazon India. Message us on WhatsApp if you need the matching sock or hotend path for A1 Mini vs full-size A1 — smoother walls start with stable motion and a stable melt, not another random internet profile dump.