Why Prints Warp and Fail at the First Layer
Warping and poor bed adhesion are among the most frustrating problems in FDM 3D printing. You level the bed, slice the model, and minutes into the print the corners start curling or the entire part detaches. The root cause is almost always a weak bond between the first layer and the build plate.
As plastic cools, it shrinks. Materials like ABS and PETG shrink more than PLA, which creates internal stress that pulls corners upward. Even PLA can lift on a cold or dirty surface. Fixing adhesion is not about one magic setting — it is about combining the right surface prep, temperatures, and an adhesive that actually holds.
Start with a Clean Build Plate
Fingerprints, dust, and old filament residue create an invisible barrier between your print and the bed. Before every print session, wipe the build plate with isopropyl alcohol (IPA) on a lint-free cloth. For a deeper clean, use warm water with a small amount of dish soap, then dry thoroughly.
Avoid touching the print surface after cleaning. Oils from your skin reduce adhesion immediately. If you use a textured PEI sheet, check for wear — a glossy, smooth PEI surface often means the coating is worn and needs replacement.
- Wipe with 90%+ isopropyl alcohol before printing.
- Deep-clean with warm soapy water when switching materials.
- Let the bed dry completely before applying any adhesive.
- Inspect PEI sheets for wear — replace when the surface looks shiny.
Dial In Temperature and Environment
Bed temperature matters. PLA typically needs 50–60 °C, PETG around 70–80 °C, and ABS 90–100 °C. If the bed is too cold, the first layer cools and contracts before bonding. If it is too hot, some materials soften excessively and sag.
Ambient temperature also plays a role. Drafts from fans or open windows cool the print unevenly and worsen warping. For ABS and ASA, an enclosure helps maintain stable heat around the part. Even without an enclosure, reducing airflow near the printer makes a noticeable difference.
- Match bed temperature to your filament manufacturer's recommendation.
- Use a brim or raft in your slicer for large, flat parts prone to lifting.
- Reduce cooling fan speed on the first few layers.
- Shield the printer from drafts when printing warp-prone materials.
Why DIY Adhesives Fall Short
Many makers reach for hairspray, glue stick from a stationery shop, or painter's tape. These can work in a pinch, but they come with trade-offs. Hairspray leaves a sticky film that builds up over time and is hard to remove. Generic glue sticks may not handle high bed temperatures and can leave uneven coats.
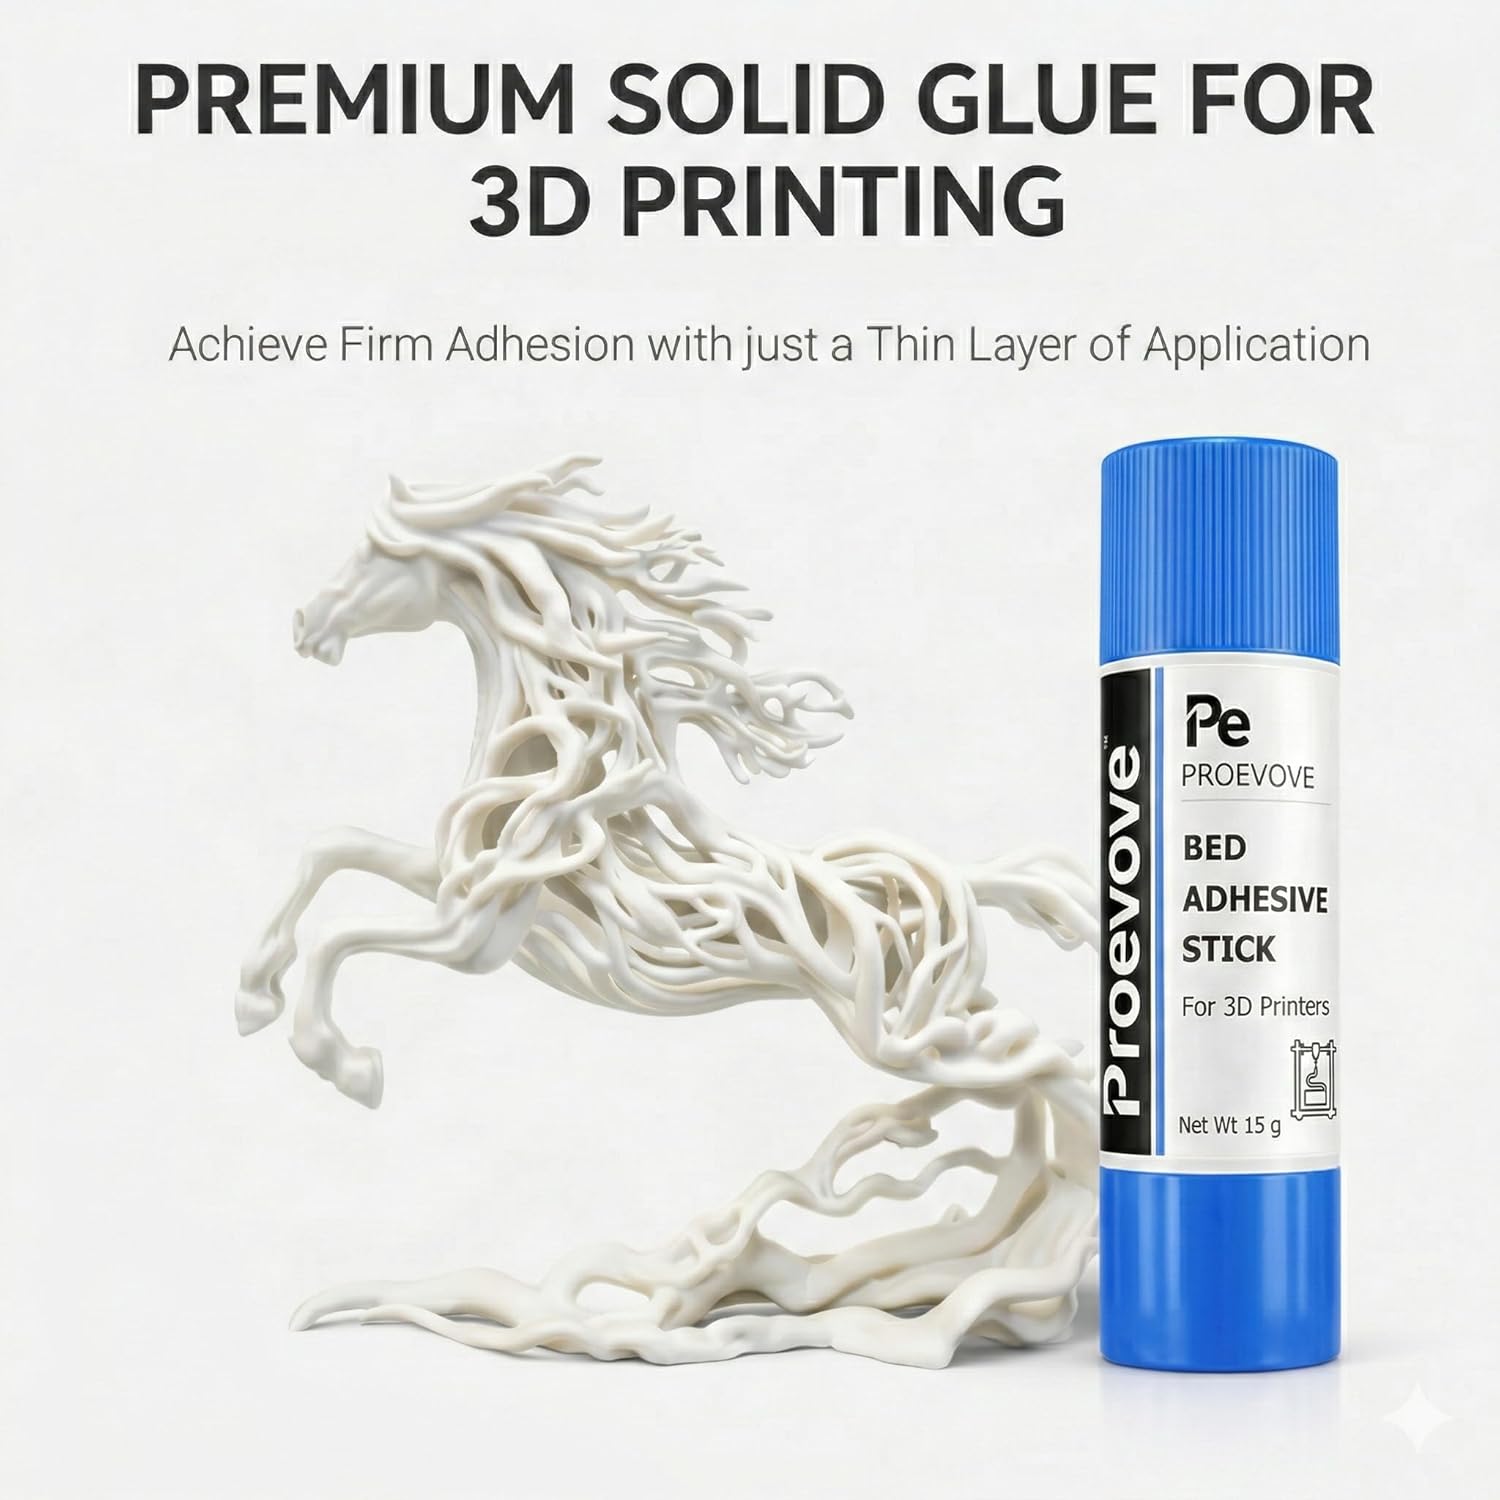
A dedicated 3D printer bed adhesive — like the Proevove PVP bed adhesive stick — is formulated specifically for heated build plates and common filaments. It applies as a thin, even layer, improves grip across PLA, ABS, PETG, TPU, and more, and washes off cleanly with water when you are done.
How to Apply Bed Adhesive Correctly
Less is more. With the Proevove bed adhesive stick, a light swipe across the print area is usually enough. You want a thin, even coat — not a thick layer that changes your first-layer height. Apply when the bed is cool for the most even coverage.
Reapply when prints start lifting at the corners or after several sessions. When switching between materials or doing a deep clean, wash the adhesive off with water and reapply fresh. The stick works on glass, PEI, magnetic, and textured build plates.
- Apply a thin, even coat with a single light swipe.
- Apply when the bed is cool for consistent coverage.
- Reapply after several prints or when adhesion weakens.
- Wash off with water before switching materials or deep cleaning.
Slicer Settings That Help First Layers Stick
Beyond the physical bed, your slicer settings affect adhesion. A slightly slower first-layer speed gives the filament more time to bond. Increasing first-layer extrusion width or flow by 5–10% can help fill gaps on textured surfaces.
Elephant's foot — where the bottom of the print flares outward — is a sign your nozzle is too close to the bed. If corners lift despite good adhesion elsewhere, the nozzle may be too far. Re-run bed levelling or use your printer's mesh compensation to fine-tune the gap.
- Slow first-layer speed to 15–25 mm/s for better bonding.
- Increase first-layer flow slightly if the surface looks under-extruded.
- Use a brim (5–10 mm) on large flat parts to resist corner lifting.
- Re-level or adjust Z-offset if the first layer looks too squished or too gap-filled.
Get Reliable Adhesion with Proevove
The Proevove bed adhesive stick is a non-toxic, heat-resistant PVP formula designed for everyday FDM printing. At 15g per stick, it lasts through many print sessions. If you print frequently, the pack of three offers better value and keeps a spare on hand.
Both variants are available on Amazon India with fast delivery. If you are unsure whether bed adhesive is the right fix for your specific warping issue, reach out to us on WhatsApp — we are happy to help.