What Is Z-Banding and Why Does It Happen?
Z-banding appears as visible horizontal ridges or waves on the sides of your prints. Instead of smooth, even layers, the surface looks stepped or corrugated. It is a layer-height consistency problem — some layers are slightly thicker or thinner than they should be.
The most common cause on lead-screw-driven printers is friction or binding in the Z-axis lead screw. When the screw does not move smoothly, the bed or gantry micro-stutters as it rises, creating uneven layer spacing. Other causes include loose Z-axis components, misaligned lead screws, and worn brass or POM nuts.
How to Diagnose Z-Banding
Before reaching for lubricant, rule out other causes. Listen to your printer during Z movement — grinding, clicking, or rough sounds point to mechanical issues. Manually turn the lead screw (with power off) and feel for binding or uneven resistance.
Check that Z-axis couplings, stepper motor mounts, and bed supports are tight. A loose screw or wobbly lead screw can mimic Z-banding symptoms. If the ridges are perfectly periodic and match your lead screw pitch, lubrication is likely the fix.
- Inspect prints for evenly spaced horizontal ridges on all sides.
- Listen for rough or uneven sound during Z-axis movement.
- Manually rotate the lead screw — it should turn smoothly with light resistance.
- Check couplings, nuts, and mounting screws for looseness.
Why Regular Grease Is Not Enough
Household oils and general-purpose grease can run off under heat, attract dust, or break down over time. Lead screws on 3D printers carry significant load and need a lubricant that stays in place, handles temperature changes, and reduces friction under pressure.
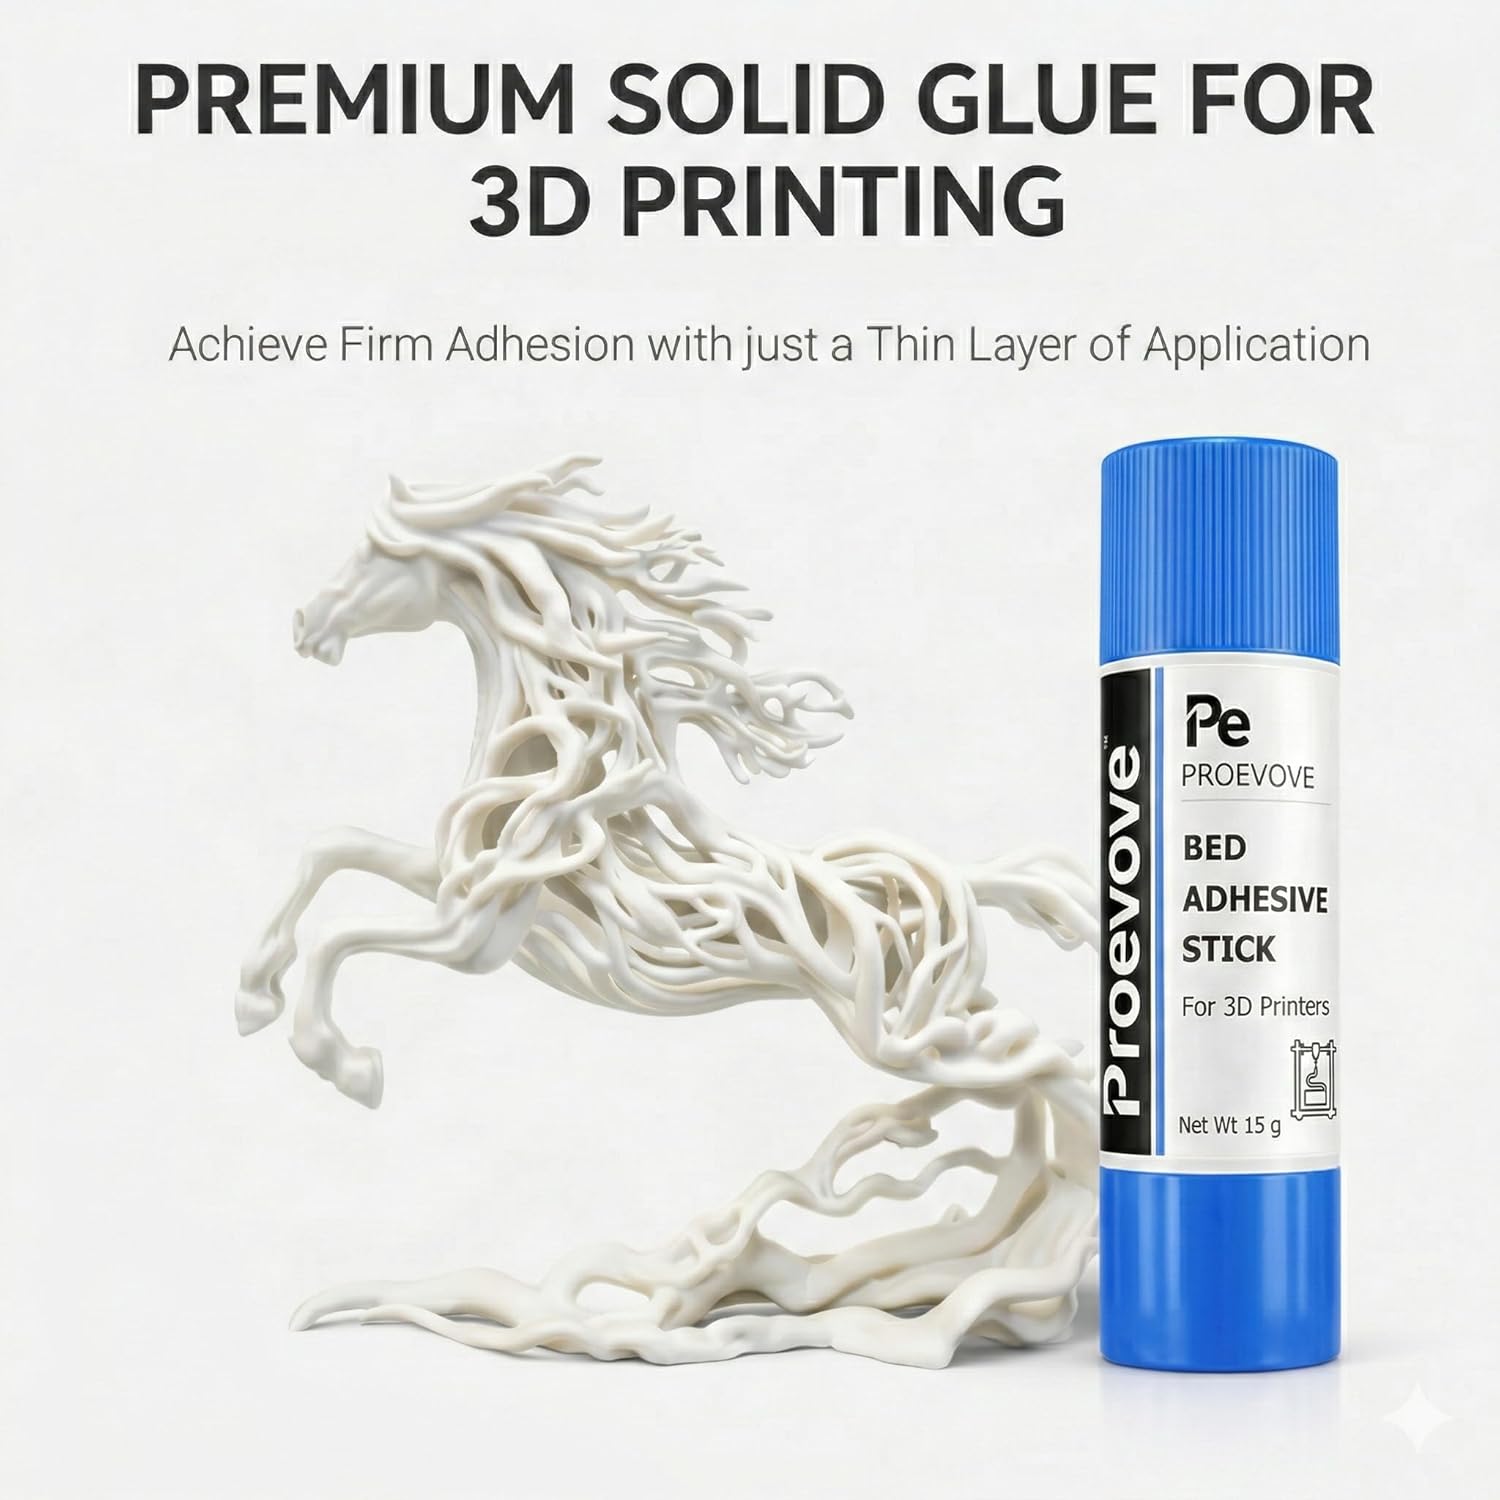
Proevove lead screw lubricant is a PTFE-based grease formulated specifically for trapezoidal Z-axis lead screws. PTFE (polytetrafluoroethylene) provides low friction and high load capacity. The 10ml syringe applicator lets you apply precisely along the screw threads without mess.
Step-by-Step: Lubricating Your Z-Axis Lead Screw
Power off your printer and raise the bed or gantry to expose the full lead screw. Clean the screw with a dry cloth to remove old grease, dust, and filament debris. Apply a thin line of grease along the threads using the syringe — you do not need to coat the entire screw heavily.
Run the Z-axis up and down several times through its full travel to distribute the grease evenly into the threads and nut. Wipe away any excess that squeezes out at the ends. Too much grease attracts dust and can cause more problems than it solves.
- Power off the printer before starting.
- Clean the lead screw with a dry lint-free cloth.
- Apply a thin bead of grease along the threads with the syringe.
- Cycle Z-axis through full travel 5–10 times to spread the grease.
- Wipe excess grease from the screw and surrounding area.
Important: Lead Screws Only — Not Linear Rods
This grease is designed for lead screws, not linear rods or linear rails. Smooth rods and rail systems use different lubrication — typically light machine oil. Applying thick PTFE grease to linear rods can increase friction and attract debris.
Most Creality, Elegoo, Anycubic, Bambu Lab, Prusa, and Voron printers with a threaded Z-axis rod benefit from lead screw lubrication. Printers that use belt-driven Z-axis (like some CoreXY designs) do not have a lead screw to lubricate.
How Often Should You Lubricate?
A good starting point is every 2–3 months for regular use, or whenever you notice rough Z movement or new Z-banding on prints. Printers in dusty environments may need more frequent attention. One 10ml syringe lasts many applications — a little goes a long way.
If you maintain multiple printers or print daily, the pack of three syringes keeps you stocked without reordering. Made in India by Proevove, both the single and pack options are available on Amazon India.
Still Seeing Z-Banding?
If lubrication does not help, look deeper. Worn lead screw nuts, bent screws, or Z-axis wobble from loose frame bolts can all cause similar symptoms. In rare cases, inconsistent extrusion or temperature fluctuations mimic Z-banding — check your filament path and hotend as well.
Need help diagnosing your specific printer? Contact us on WhatsApp or call — we can point you in the right direction.